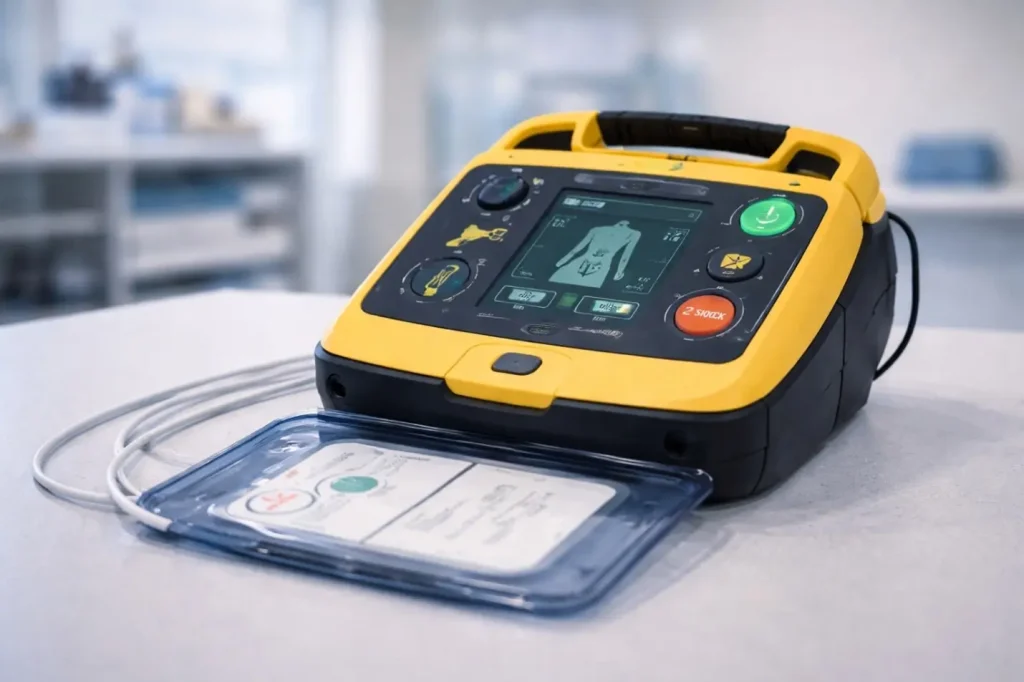
Alt Text: An Automated External Defibrillator (AED) open and ready for use with pads visible, representing life-saving technology for healthcare workers.
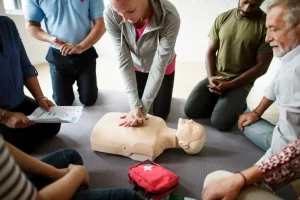
An automated external defibrillator is the single most powerful tool a healthcare worker can reach for during a cardiac arrest. High-quality chest compressions keep oxygen moving to the brain, but an AED is what actually restarts a heart in specific rhythms. Used within the first few minutes of collapse, an AED can double or even triple the chance of survival. This guide walks through exactly how to deploy an AED during a code, step by step, with the coordination points that matter most when seconds decide the outcome.
What an AED Actually Does
An AED analyzes the electrical activity of the heart and decides whether that rhythm will respond to a shock. Not every cardiac arrest is shockable. The device knows the difference, reads the rhythm automatically, and tells the rescuer whether to press the shock button or continue compressions. That is why bystanders without medical training can operate an AED safely. The device makes the diagnostic call, not the person holding the pads.
For a deeper look at why some rhythms respond to shock and others do not, read our guide on shockable vs non-shockable heart rhythms.
When to Deploy an AED
Deploy an AED as soon as you confirm a patient is unresponsive and not breathing normally. The sequence is straightforward. One rescuer begins chest compressions. A second rescuer retrieves the AED and begins deployment while compressions continue. The goal is to minimize any pause in compressions while still getting the pads on and a rhythm analysis in under 90 seconds of collapse.
If you are alone and no AED is within arm’s reach, prioritize calling emergency services and starting compressions. An AED used at minute 4 is still vastly better than no AED at all. Waiting to find a device while doing nothing is never the right call.
Step-by-Step AED Deployment
Step 1: Power On the Device
Open the lid or press the power button. Most modern AEDs begin voice prompts the moment they power on. Those prompts are your guide. Listen and act on each one without skipping ahead. Even experienced responders follow the voice prompts because they prevent missed steps under pressure.
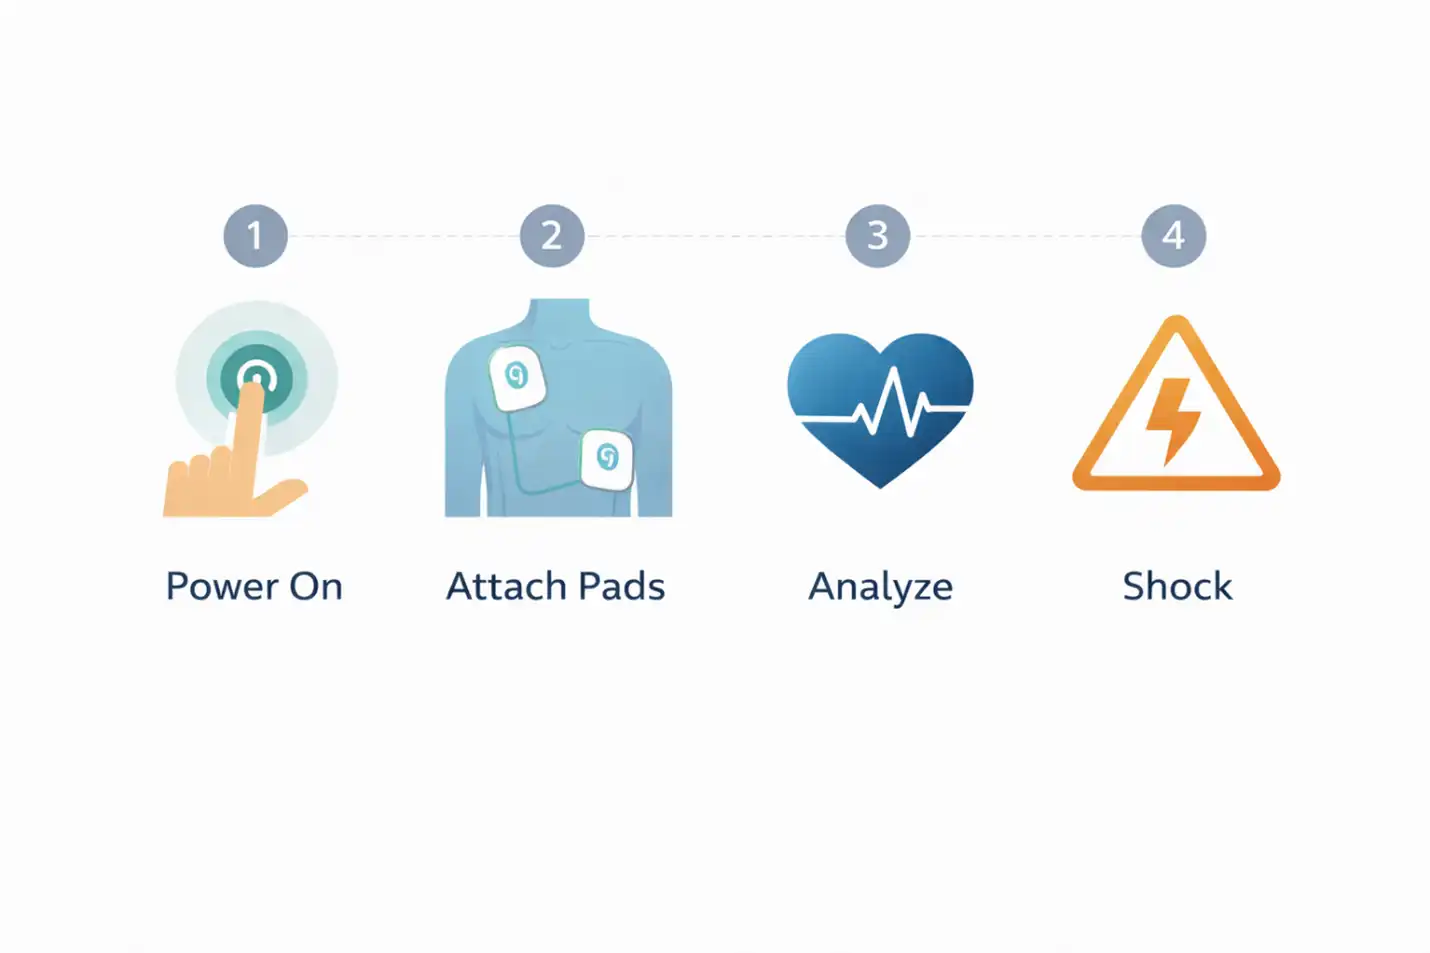
Alt Text: Infographic showing the step-by-step process of AED use, including pad placement on an adult chest and the analysis phase.
Step 2: Expose the Chest
Remove clothing from the chest quickly. Scissors or trauma shears are useful when clothing is bulky. Check for and address three common obstacles. Moisture on the chest requires a quick towel-off so pads stick. Heavy chest hair at the pad sites may need rapid shaving with the razor included in most AED kits. Medication patches at pad sites must be removed and the area wiped clean before placing pads.
Step 3: Apply the Pads Correctly
Pad placement matters for both rhythm analysis and shock delivery. The standard anterior-lateral configuration places one pad on the upper right chest just below the collarbone and the second pad on the left side of the chest below the armpit. The diagrams on the pads themselves show this placement clearly. For infants and small children, use pediatric pads if available and follow the manufacturer’s anterior-posterior placement guidance, which usually means one pad on the front of the chest and one on the back.
Special situations to watch for include patients with implanted pacemakers or defibrillators, where pads go at least one inch away from the device outline. Patients with obvious chest trauma may need alternate placement. Extremely wet or sweaty patients need rapid drying before pads are applied.
Step 4: Allow Rhythm Analysis
Once the pads are connected, the AED analyzes the rhythm. This step takes roughly 10 to 15 seconds. During analysis, all rescuers must stop touching the patient. The AED announces the instruction clearly: stand clear, or analyzing. Even the slightest motion can interfere with the reading, so pause compressions, step back from the bed or floor, and let the device do its work.
Step 5: Deliver the Shock If Advised
If the AED recommends a shock, confirm no one is in contact with the patient. Announce clear in a loud voice and visually check the entire body before pressing the shock button. The announcement exists because a single touch during shock delivery can harm the rescuer. After pressing the button, the AED delivers the shock, and the patient may physically jolt.
If the AED does not recommend a shock, resume chest compressions immediately. No shock does not mean failure. It means the current rhythm is not one that responds to defibrillation, and compressions remain the right intervention.
Step 6: Resume CPR Immediately
Whether a shock was delivered or not, resume high-quality compressions within seconds of the AED prompt. The device will run another analysis roughly every two minutes. Work in rounds: compressions for two minutes, analysis, shock if advised, compressions again. Continue until advanced providers take over or the patient shows signs of return of spontaneous circulation.
Coordinating AED Use With Ongoing CPR
The biggest mistake new BLS providers make is stopping compressions longer than needed while setting up the AED. Every extra second without compressions costs perfusion pressure. The fix is a clean role split. One rescuer owns the AED. Another rescuer owns compressions and does not stop unless the AED announces analyzing or shocking.
When the AED announces analyzing, the compressor steps back within one second. When analysis ends and a shock is delivered, compressions resume within one second of shock delivery. Smooth team coordination keeps total pause time under 10 seconds per cycle.
For a walkthrough of how team dynamics are taught in class, see our what to expect in a BLS class guide.
Real-World Complications to Know
A few common complications come up on actual codes that classroom practice may not fully prepare you for. Batteries sometimes need to be replaced mid-code, especially on older AED units stored in low-use public spaces. Pad adhesive can fail on extremely sweaty, oily, or wet skin, which means a fresh set of pads from the backup supply. Pediatric pads may not be available in every AED kit, in which case adult pads placed in an anterior-posterior configuration are acceptable for children, though not ideal.
Patients with chest hair so dense that pads do not stick may need one firm pull of the pad to remove hair before applying a second set. This sounds painful, but the patient is unconscious and the priority is making skin contact for accurate analysis.
Where to Find AEDs in Massachusetts Facilities
Massachusetts hospitals, long-term care facilities, dental offices, and many public buildings now store AEDs in clearly marked wall cabinets or on emergency carts. Gym floors, sports arenas, schools, and large offices commonly mount AEDs on public walls. Know where the nearest AED is stored at your worksite before an emergency happens. On your first day at any new facility, ask a coworker or supervisor to point out every AED location on your shift route.
Practice These Skills in a Real BLS Class
Reading about AED deployment is the starting point. The confidence to execute under pressure comes from hands-on practice with an AED trainer and a live instructor. Our Stoughton BLS classes include deployment drills so every student leaves having operated the device themselves. Enroll in the next BLS Provider class today.
If you are still researching, read the full step-by-step BLS certification guide for Massachusetts. For the adjacent clinical skill of airway obstruction management, see our choking response BLS protocols guide.