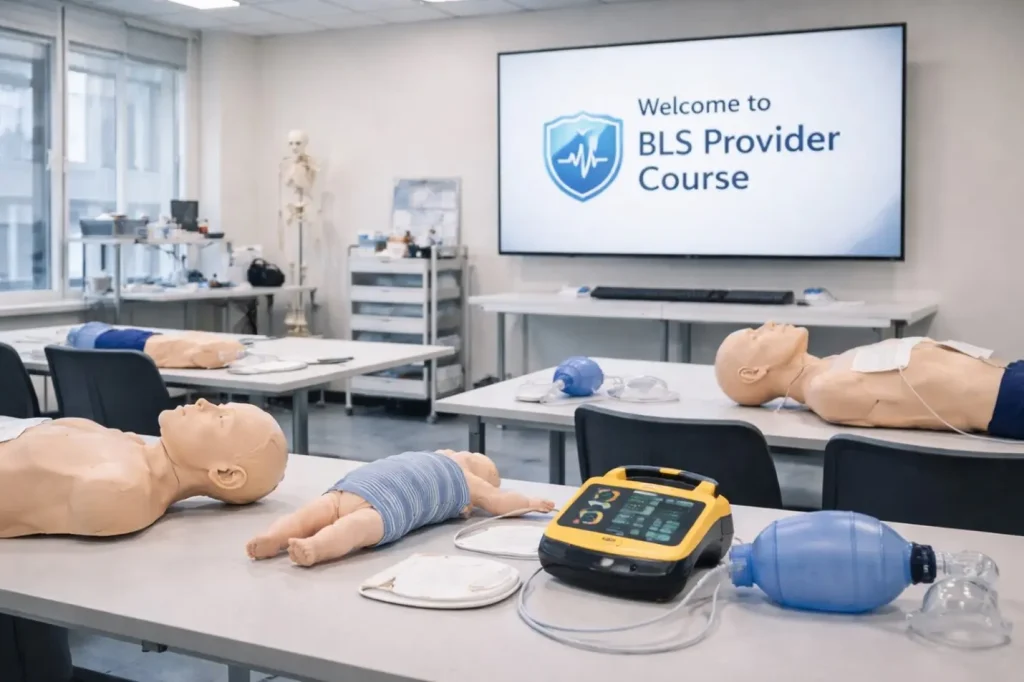
Alt Text: A professional BLS training classroom setup in Massachusetts with CPR manikins and AED trainers, ready for students
Signing up for a BLS Provider class is a small commitment with real career value, but first-time students often walk in anxious. Will the class feel like a college lecture? Will the instructor fail you on the first compression? Will the written test include trick questions? None of the above, in most cases. This guide walks through exactly what happens in a Basic Life Support class from the moment you arrive to the moment you hold your completion card, so you can show up prepared rather than nervous.
What Happens Before Class
Most BLS programs send you pre-class materials once you enroll. The materials usually include a short reading packet on the Chain of Survival, a preview of compression and ventilation ratios, and a quick overview of AED use. None of it is dense. The whole package takes under an hour to review.
If your program offers the HeartCode BLS blended learning option, you complete the knowledge portion online before arriving. That reduces classroom time on test day and lets you focus entirely on hands-on skills once you walk in.
For a full enrollment walkthrough from signup to class day, read our step-by-step BLS certification guide for Massachusetts.
What to Bring and Wear
Dress comfortably. You will spend a meaningful portion of the class kneeling on the floor performing compressions on a manikin. Jeans are fine. Scrubs are fine. Tight skirts, heels, or restrictive clothing make the skills practice harder than it needs to be.
Bring a government-issued photo ID, your pre-class materials if provided, a pen or two, a notebook if you prefer written notes, and a water bottle. That is the full list. Manikins, AED trainers, bag-valve-mask devices, pocket masks, and all other equipment are provided by the training center.
If you are renewing an existing BLS card, bring your current card as proof of eligibility for the shorter renewal format.
The Classroom Format
A typical initial BLS Provider class runs 4 to 6 hours in a single day. The time is split between short instructional segments and longer hands-on practice stations. Instructors rarely lecture for more than 10 minutes at a stretch because the course is designed around muscle memory, not pure theory.
Class usually opens with introductions, a review of safety guidelines for the manikins, and a quick overview of the agenda. From there, the instructor walks the group through the Chain of Survival, demonstrates a skill, and then sends everyone to practice stations to try it themselves. That pattern repeats for each core skill throughout the day.
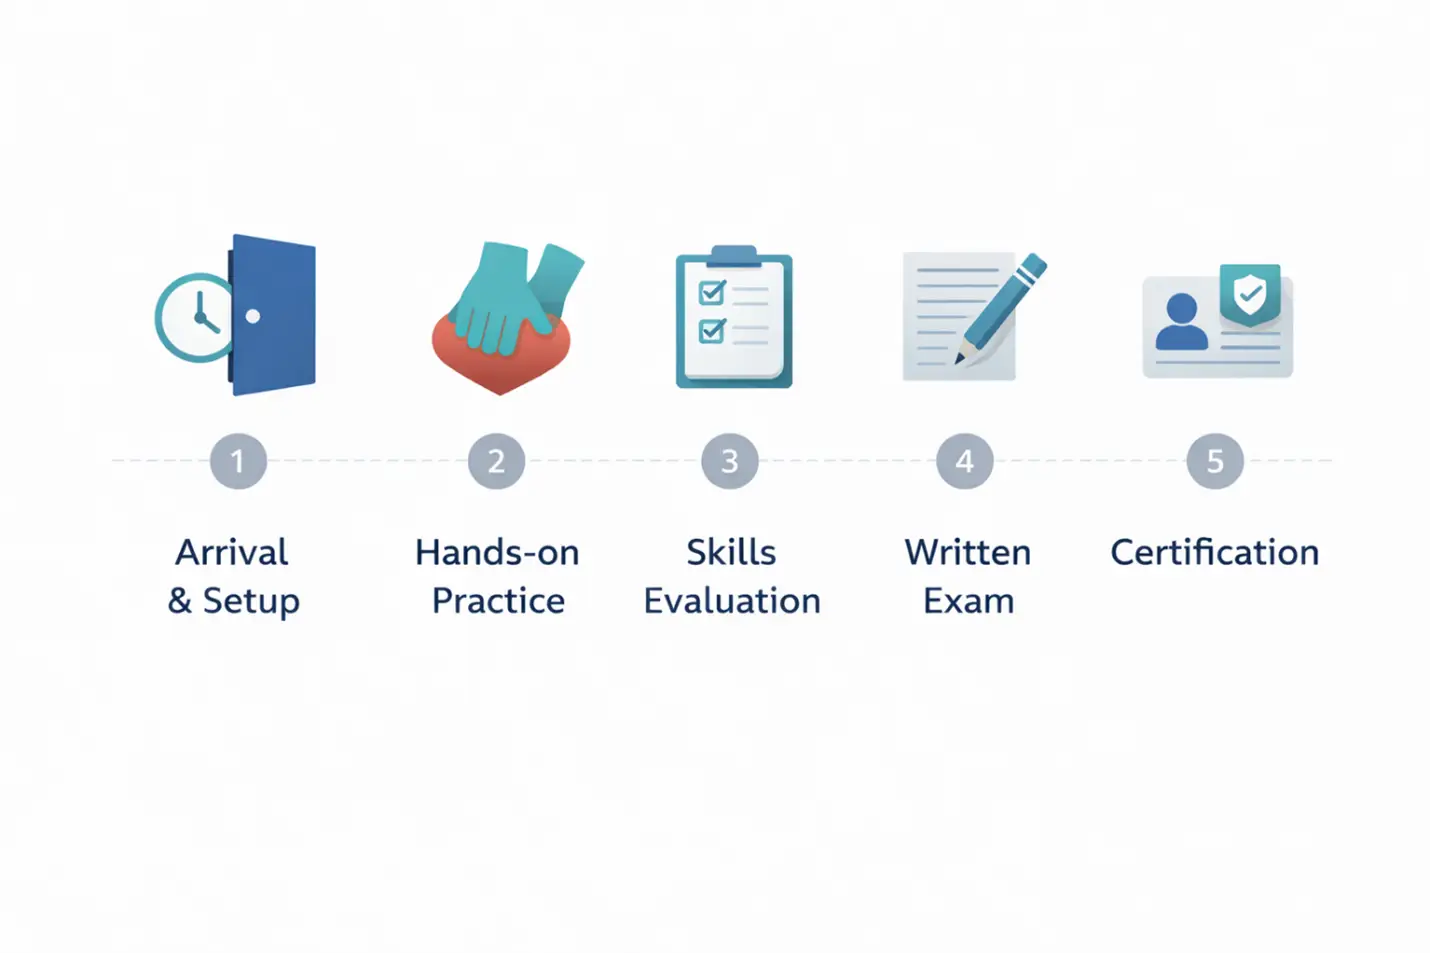
Alt Text: A 5-step infographic roadmap of a BLS provider class showing arrival, hands-on practice, skills evaluation, written exam, and certification.
Skills You Will Practice
Adult CPR
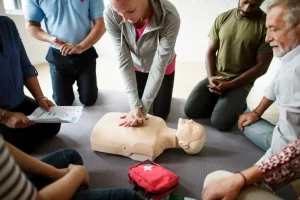
You start with adult chest compressions, working on rate, depth, hand placement, and complete chest recoil. The instructor uses a feedback device or visual cue to show whether you are hitting the correct parameters. Expect several rounds until your technique is consistent.
Infant and Child CPR
Next comes pediatric CPR, which uses different hand placement, depth, and technique compared to adults. Infant CPR is two-finger compressions on a small manikin. Child CPR falls between infant and adult parameters. The transition between age groups is one of the most valuable parts of the class.
Ventilations
You practice rescue breathing using a pocket mask and a bag-valve-mask device. The instructor checks for correct seal technique, proper ventilation volume, and appropriate rate. You practice both one-rescuer and two-rescuer ratios for adults, children, and infants.
AED Deployment
Using an AED trainer, you walk through the full deployment sequence. Power on, pad placement, clear the patient, allow the device to analyze, deliver a shock if indicated, and resume compressions. You practice coordinating the AED with ongoing CPR so the transitions are smooth.
For a deeper walkthrough of AED deployment, read our AED use step-by-step guide for healthcare workers.
Choking Response
The class covers relief of foreign-body airway obstruction for responsive and unresponsive adults, children, and infants. Each age group has a different technique, and the instructor walks you through each one with demonstrations and practice.
For a detailed breakdown by age group, see our choking response BLS protocols guide.
Multi-Rescuer Team Dynamics
The final skill is working as part of a team during a code. You practice role switching every two minutes, closed-loop communication, and clean handoffs between rescuers. This portion often feels like the most realistic simulation of a real resuscitation.
What Exam Day Looks Like
Written Knowledge Test
The written test is multiple-choice and covers the material practiced throughout the day. Most students complete it in under 30 minutes. Questions focus on the Chain of Survival, compression parameters, ventilation ratios, AED protocols, and choking response. There are no trick questions. If you engaged with the class, you already know the answers.
Hands-On Skills Check
The skills check is a one-on-one or small-group evaluation with the instructor. You demonstrate the core skills you practiced all day while the instructor confirms that your technique meets the required standards. Common checkpoints include correct compression rate and depth, effective ventilations without air leaks, proper AED pad placement, and clear communication during multi-rescuer scenarios.
What Happens If You Struggle With a Skill
Struggling on a specific skill during practice is common, especially for first-time students. Instructors are trained to coach you through it rather than fail you on the spot. If your compressions are too shallow, the instructor adjusts your hand placement. If your ventilation seal leaks, the instructor demonstrates the grip again.
If you do not pass the skills check on the first attempt, most programs let you practice more and try again the same day. Small class sizes matter here because instructors have time to work with individual students instead of rushing the group through.
Receiving Your Completion Card
Once you pass both evaluations, the instructor issues your AHA BLS Provider Course Completion Card. Some centers print a physical card the same day. Others issue a digital eCard that arrives in your email within a few business days. Either version is accepted by Massachusetts employers.
Add the card to your resume and to any employer onboarding portal that asks for proof of certification. The card is valid for exactly two years from the completion date printed on it.
Tips for a Smoother Class Day
Arrive 15 minutes early to settle in and review your materials. Eat a light meal before class because you burn real energy during compressions practice. Hydrate throughout the day. Ask questions the moment you feel unsure about a technique because silent confusion leads to failed skills checks. Practice compression rhythm at home before class using a metronome set to 100 to 120 beats per minute.
Ready to Book Your BLS Class?
Our Stoughton campus runs BLS Provider classes on flexible evening and weekend schedules. Small class sizes, AHA-aligned curriculum, and a same-day path to your completion card. See current class dates and enroll today.
Still deciding if BLS is the right certification for your situation? Review BLS vs CPR: What’s the Difference or confirm your role fits in our who needs BLS certification in Massachusetts guide.